|
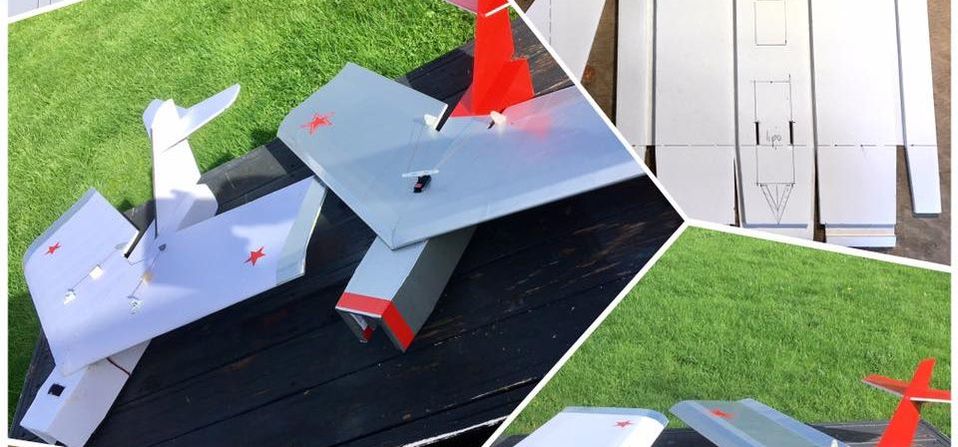
You guys loved my nnChuckStang so I figured it would be a good idea to expand on the Chuck series!
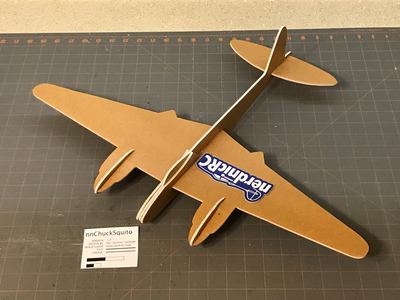
nnChuck Cessna 172 - goo.gl/hN42B3 nnChuck F-16 - goo.gl/pFL47X nnChuck B-17 - goo.gl/D8j78E nnChuckSquito - goo.gl/QV9v9i nnChuckSabre - goo.gl/BaKknV nnChuck P-38 - LINK
19 Comments
|
| If you're not sure how to download and print plans CLICK HERE | SPECS CG 120mm from center LE SPAN 750mm EDF 64mm LIPO 1500mah 4s |
VIDEOS
| | |
Status: Work In Progress
Last updated: May 20th 2018
Last updated: May 20th 2018
DETAILS
The Rascal CNC is a hobby grade CNC machine designed BY the Community FOR the Community with the simple goal of being able to cut foam board airplanes, for more details: CLICK HERE
Make sure you've got all your parts and Rascal Kit ordered before you get started.
Make sure you've got all your parts and Rascal Kit ordered before you get started.
PREP WORK
Baseboard
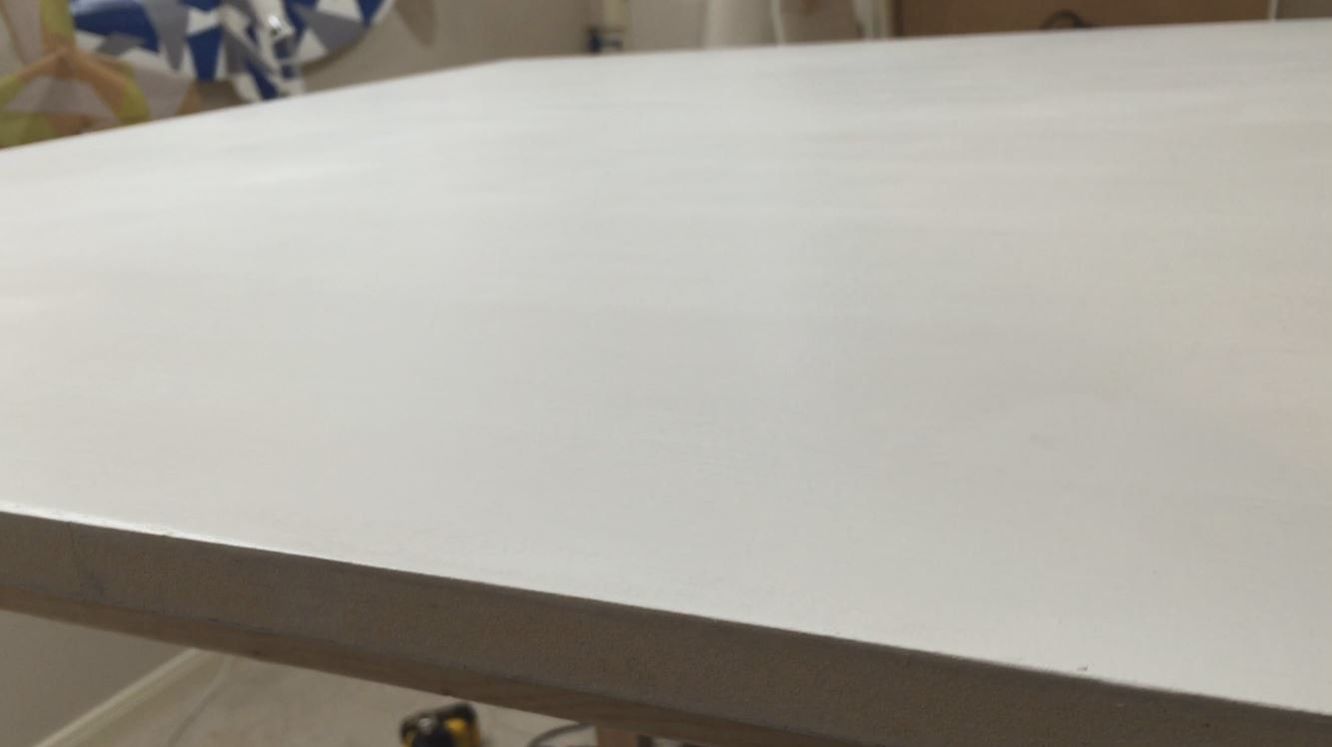
The Rascal mounts to a flat sheet of MDF or plywood. This baseboard should be 3/4"x42x42” minimum, but the thicker the better. Pick up a sheet from your local lumber store and then you'll need to seal your baseboard with one of the following:
It's critical that the baseboard is sealed to prevent it from warping over time. Lastly, frame the underside of your baseboard with 2x4s and mount it somewhere solid and permanent.
The Rascal mounts to a flat sheet of MDF or plywood. This baseboard should be 3/4"x42x42” minimum, but the thicker the better. Pick up a sheet from your local lumber store and then you'll need to seal your baseboard with one of the following:
- Paint and polycrylic
- Wood stain
It's critical that the baseboard is sealed to prevent it from warping over time. Lastly, frame the underside of your baseboard with 2x4s and mount it somewhere solid and permanent.
2015
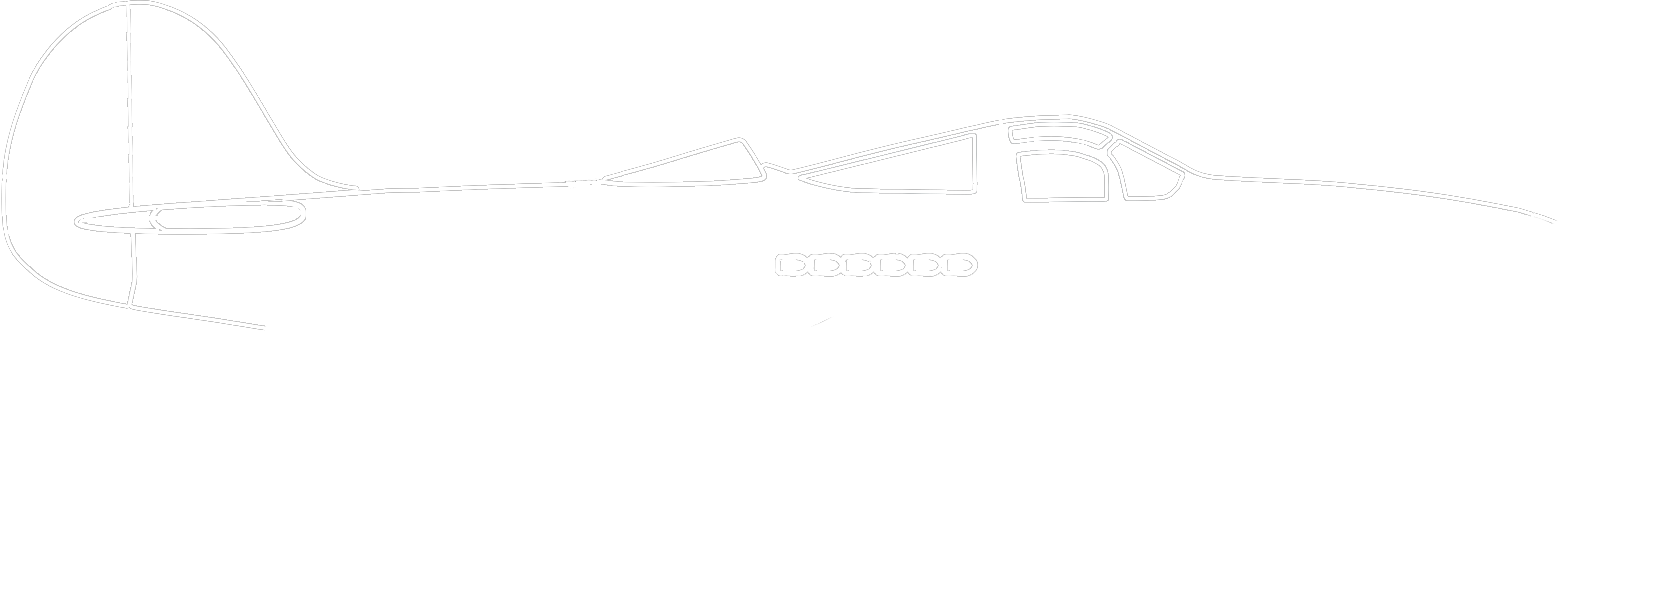
I began my journey down the RC hobby rabbit hole in February of 2014, and you can read about my beginnings HERE. However, it wasn't until I released my nnP-39 in June of 2015 that I wanted to come up with a logo to define my brand. The P-39 was my most advanced design and to that point, the most visually appealing plane I had created. This design was also a BIG hit with the community and the looks just really stuck with me.
Looking at my original design files (this one is dated August 17, 2015, 2:26:57 AM), I figure it took a few hours and about 10 variations to finalize my original logo. Given that I have no graphic design experience, I felt proud of what I created.
2016 - 2017
I used my original logo for just over a year. It wasn't until I started screen printing my own shirts and selling them that I realized it needed to be updated. The small lines of the plane outline and complex window pattern were hard to print on a shirt. So I thickened the plane lines and simplified the front window. There are still some shirts floating around with the original nerdnicRC logo, but not many.
2018 - Current
In early 2018 I got the itch to make the nerdnicRC logo a little more, I don't know.. modern? I'm not sure what to call the new style, but it's further simplified and the P-39 lines are more bold.
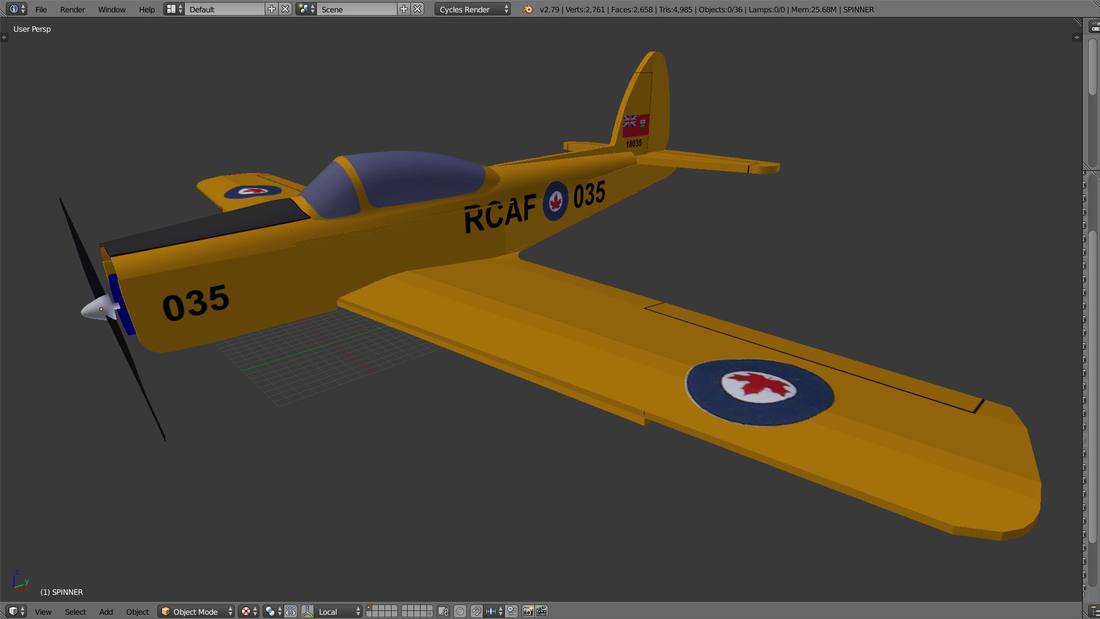
I’m excited to announce that the nnChipmunk is now available for Phoenix RC Simulator!
Rick P on RCG developed it and then I was able to test and provide feedback. It feels just like the real thing and you can download it now.
Rick P on RCG developed it and then I was able to test and provide feedback. It feels just like the real thing and you can download it now.
BUILD STILL IN PROGRESS
Last update - June 24th 2018
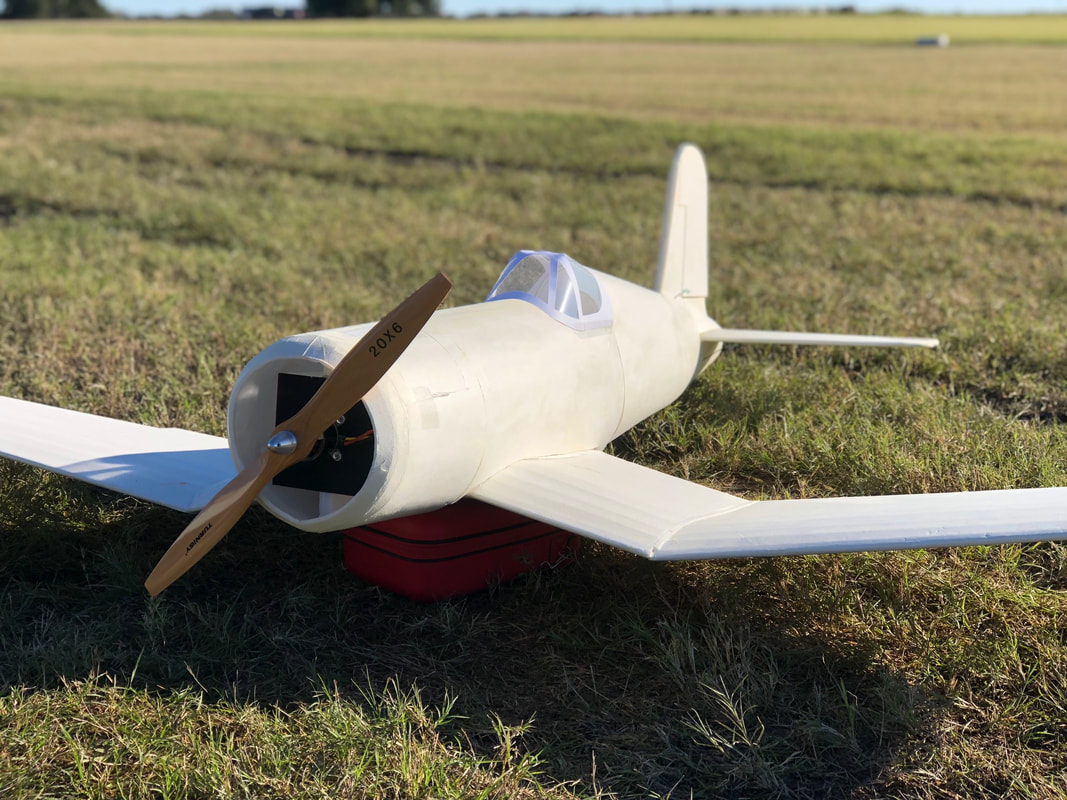
I've been working on a Corsair now for some time. The design has been changed and re designed many times as I search for the right look and build style that's strong (gotta be able to handle speed) and straight forward to build. I finally settled on a new design method that I really like.
This new method uses a main rib that a few scale formers fix to. I then use foam to wrap the formers to give a fully scale fuse. For a time reference I started this build on November 18th 2016.
If you're like me then you know that plywood firewalls just don't hold up. After a few crash.. I mean hard landings, your motor will either break the plywood or the screws holding it in place will simply let go. This leaves you with an early trip home from the field.
Over the years I have tried a bunch of different materials in search of the best firewall. In my eyes the best firewall would have all these qualities:
ABS is readily available so that's a huge plus. The challenge was finding the right thickness material in a cheap and commonly available product. If you can locate the correct material AND find a cheap product to salvage the material from.. that right there is a DIYers dream.
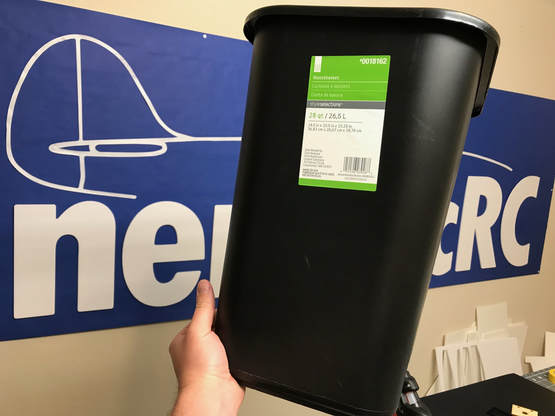
So head to Walmart, Target, Home Depo, Lowes, or whatever super store you have in your area and grab a simple wastebasket. This one cost only a few dollars and you can make more firewalls than you'll ever need.
https://www.lowes.com/pd/Style-Selections-7-Gallon-Black-Plastic-Touchless-Trash-Can/3052353
Over the years I have tried a bunch of different materials in search of the best firewall. In my eyes the best firewall would have all these qualities:
- Durable
- Easy to work with
- Cheap
ABS is readily available so that's a huge plus. The challenge was finding the right thickness material in a cheap and commonly available product. If you can locate the correct material AND find a cheap product to salvage the material from.. that right there is a DIYers dream.
So head to Walmart, Target, Home Depo, Lowes, or whatever super store you have in your area and grab a simple wastebasket. This one cost only a few dollars and you can make more firewalls than you'll ever need.
https://www.lowes.com/pd/Style-Selections-7-Gallon-Black-Plastic-Touchless-Trash-Can/3052353
Last year I took my family on vacation to a friends cabin on Cascade lake in Idaho. While there I was able to build the first prototype for my 800 Series nnSpitfire and fly it around. Unfortunately, the location where I was flying had a tail wind landing and a VERY short runway... Oh and I only brought a few propellers, d'oh! Sooo, I only got to fly the prototype a few times and didn't get to capture much video. I decided to leave the plane with its electronics with my friend at his cabin in the hope that I'd be back one day.
Fast forward to July of this year. We were able to arrange another vacation with the same family friends and this time I brought plenty of props :-) I was able to fly high up in the mountains and over the Cascade lake (right off the cabin deck). I packed a lighter battery so the tail wind landing on the short runway gave me slightly less trouble, but was still a challenge each flight.
I captured some video to share with you, and I hope you enjoy it.
I am working on a Bird Dog with floats. Here is a quick look at the prototype.
Downloading plans
I use Google Drive to host my designs. Follow the below steps to get your plans downloaded to your computer.
1. Click the "DOWNLOAD" button to launch the downloads page for your desired model. On some models, you will see a set of folders indicating all available plan versions. Select the newest version.
1. Click the "DOWNLOAD" button to launch the downloads page for your desired model. On some models, you will see a set of folders indicating all available plan versions. Select the newest version.

