|
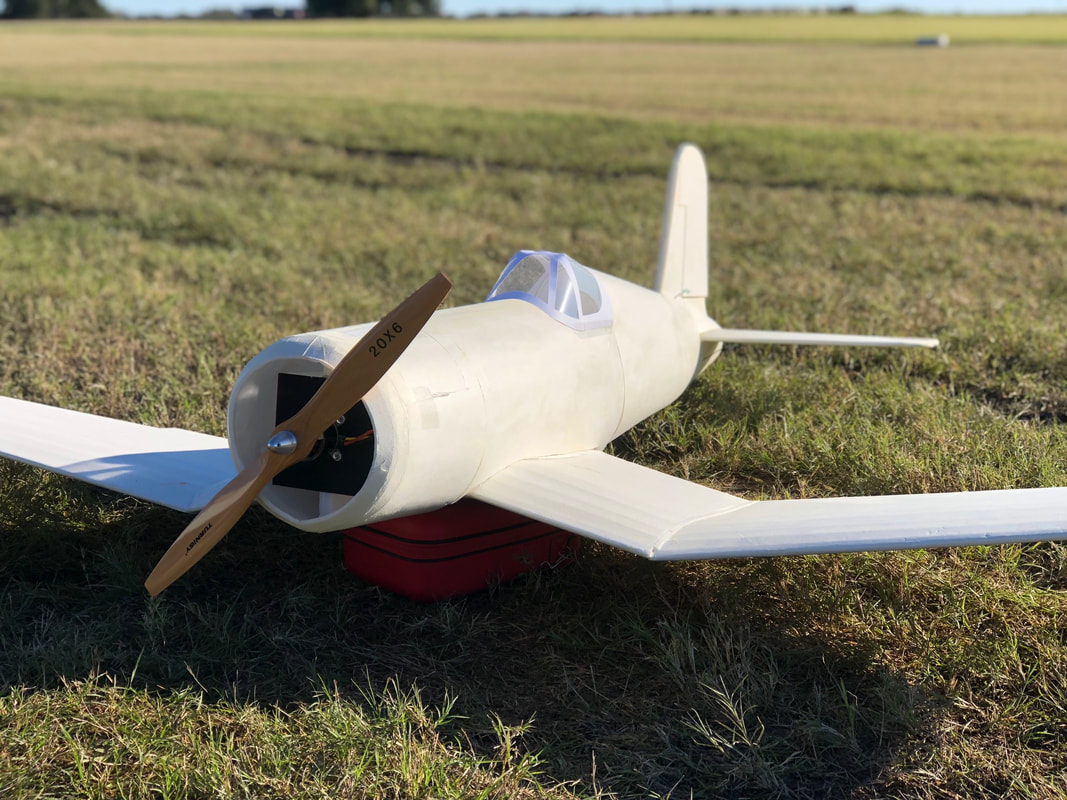
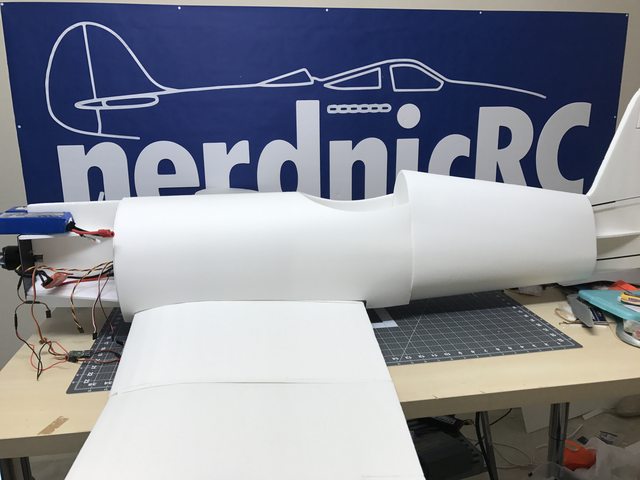
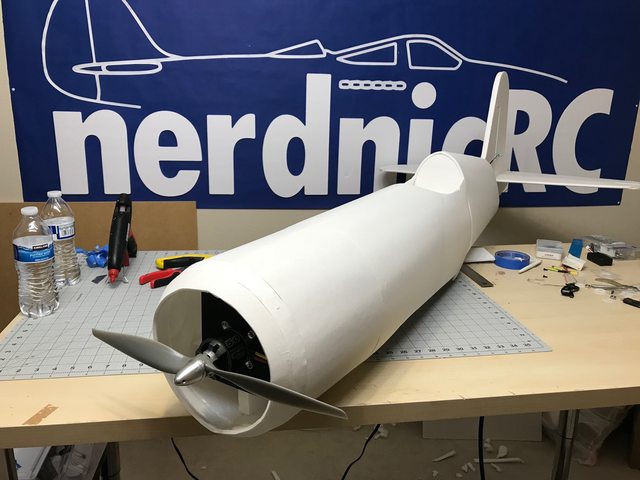
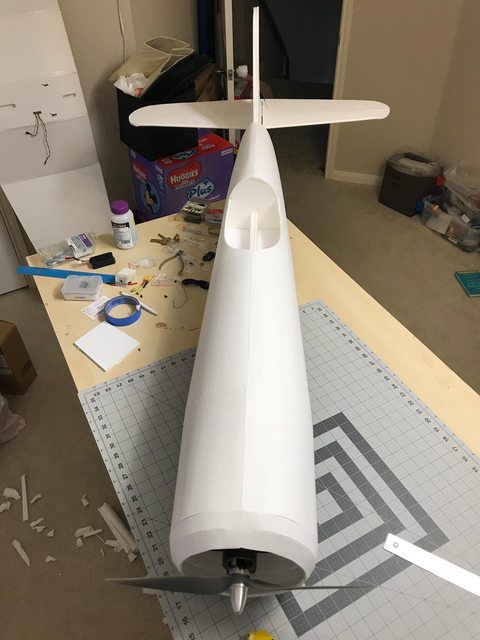
BUILD STILL IN PROGRESS Last update - June 24th 2018 I've been working on a Corsair now for some time. The design has been changed and re designed many times as I search for the right look and build style that's strong (gotta be able to handle speed) and straight forward to build. I finally settled on a new design method that I really like. This new method uses a main rib that a few scale formers fix to. I then use foam to wrap the formers to give a fully scale fuse. For a time reference I started this build on November 18th 2016. While working on the prototype I decided to make a monster 200% version in parallel.
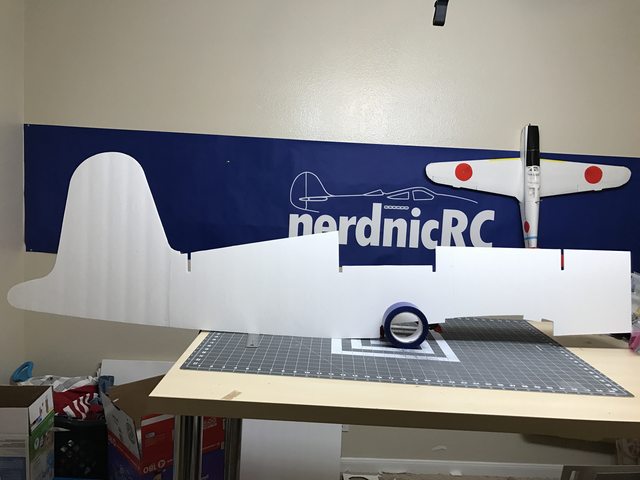
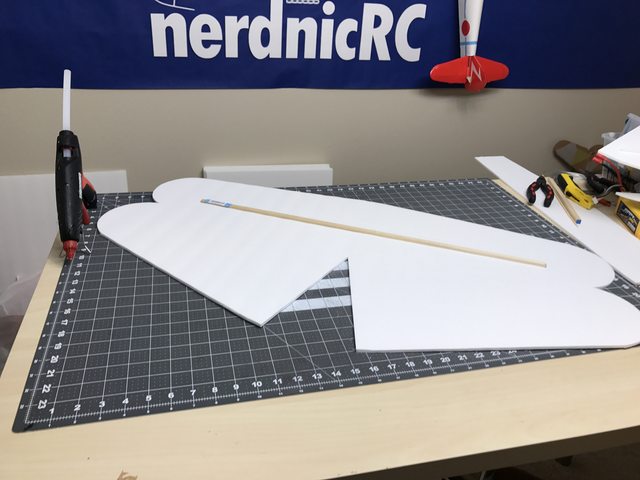
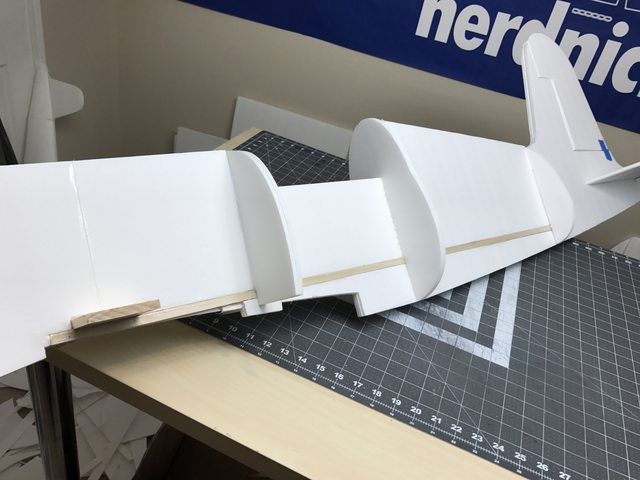
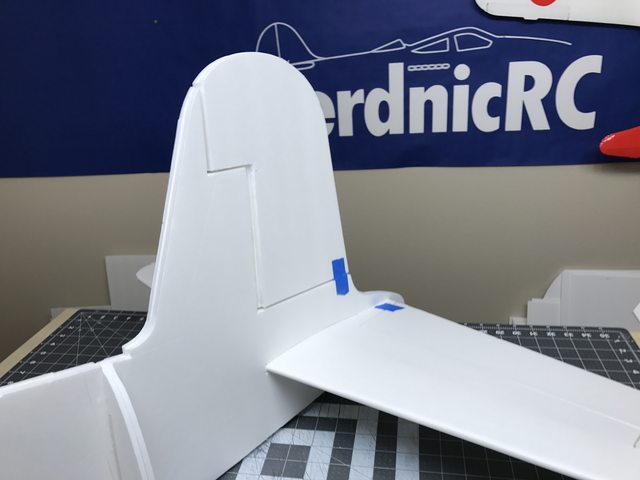
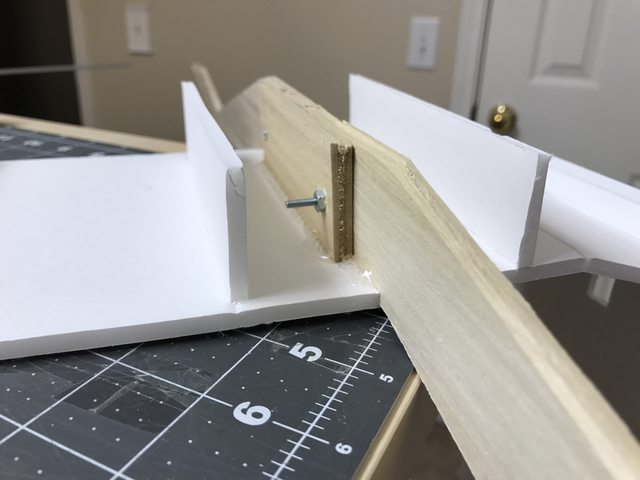
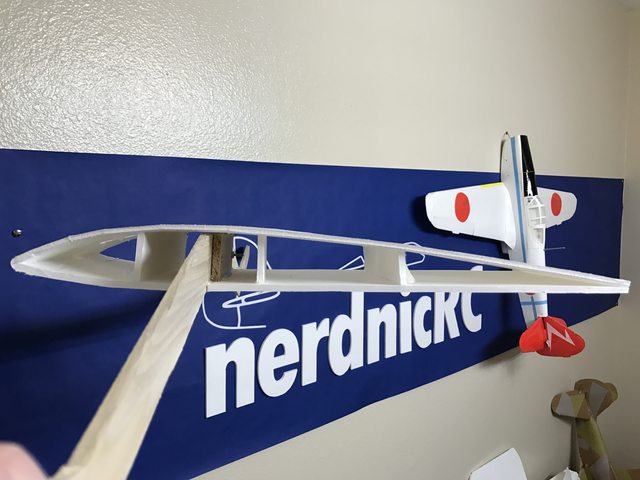
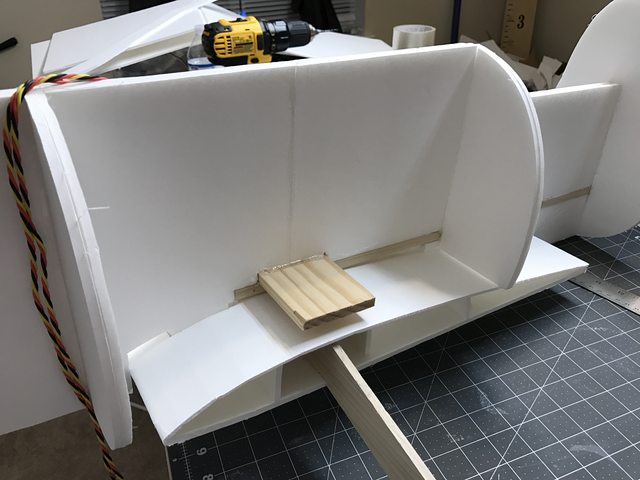
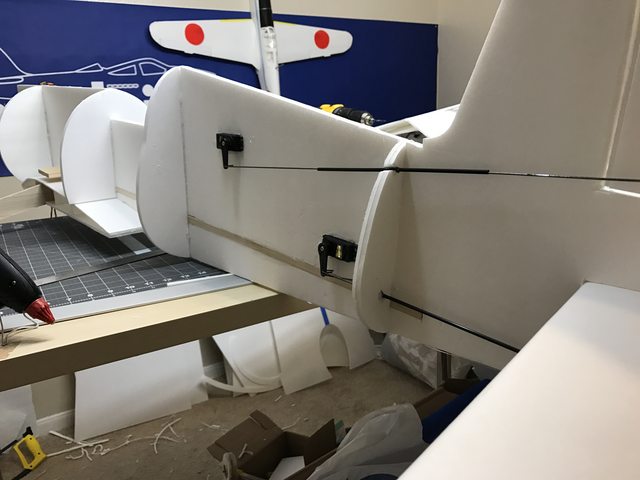
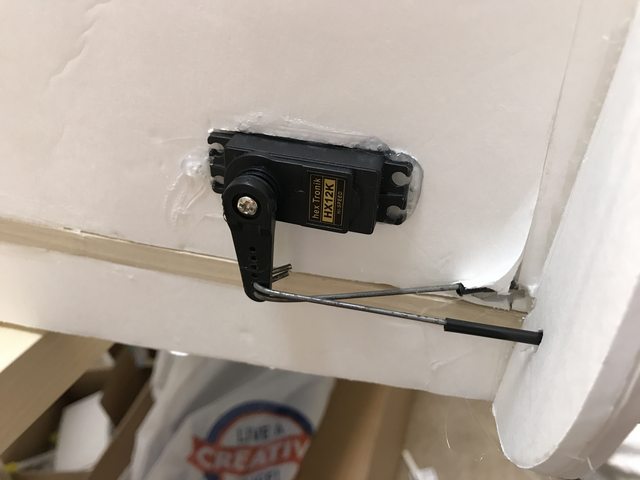
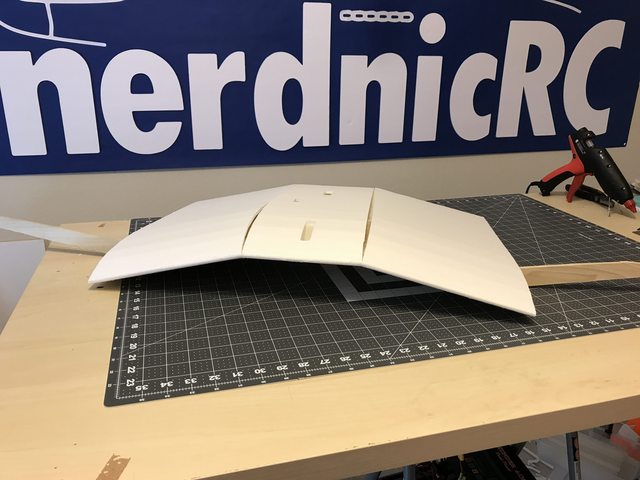
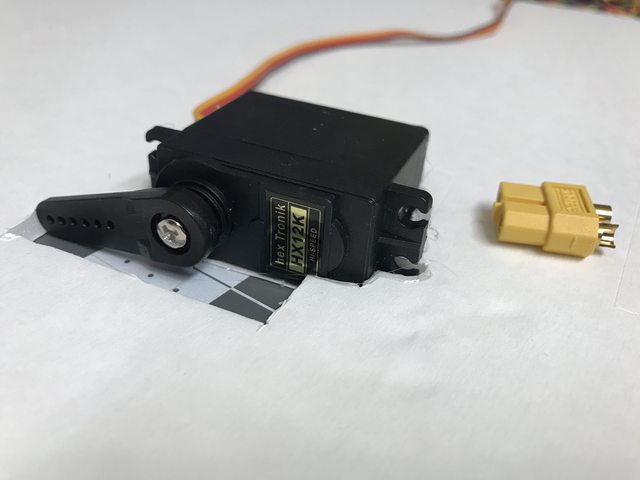
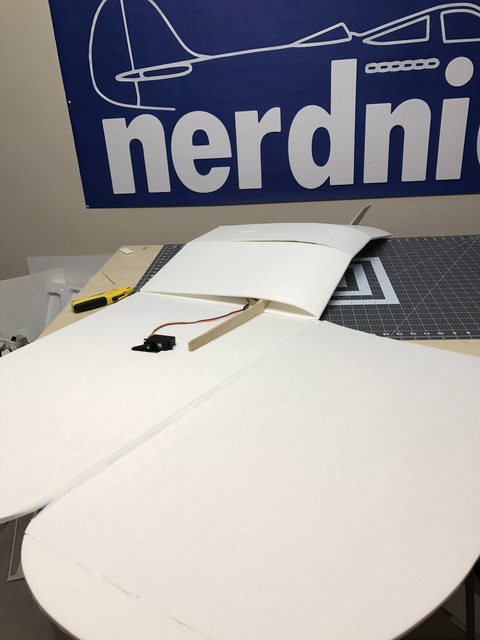
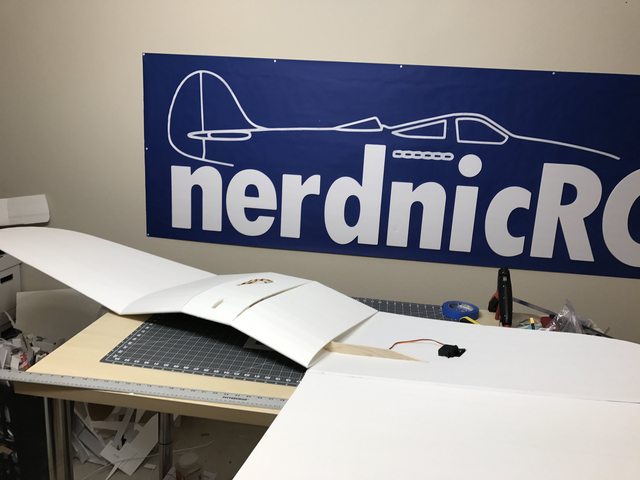
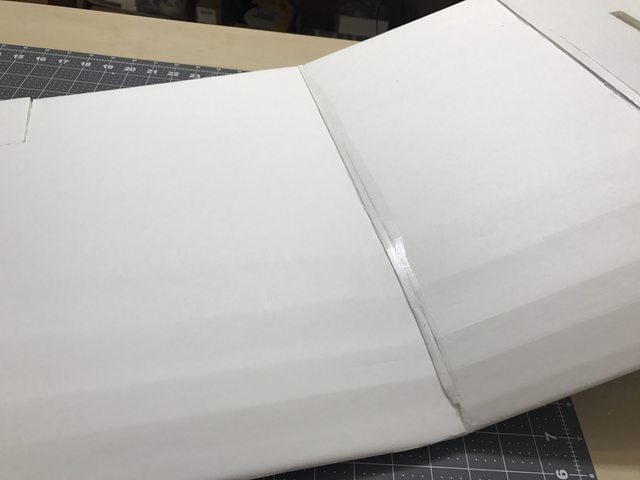
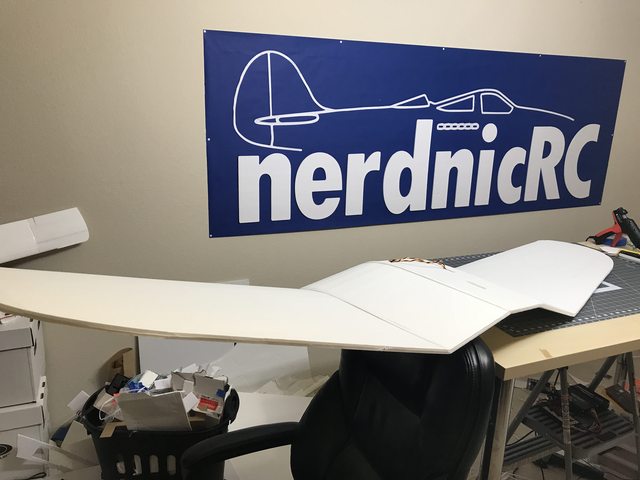
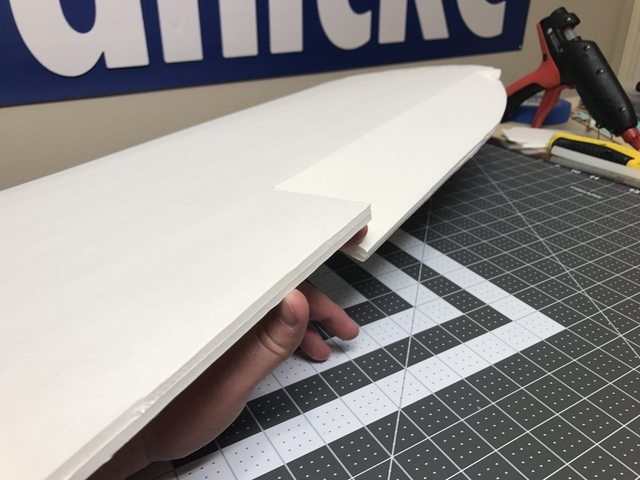
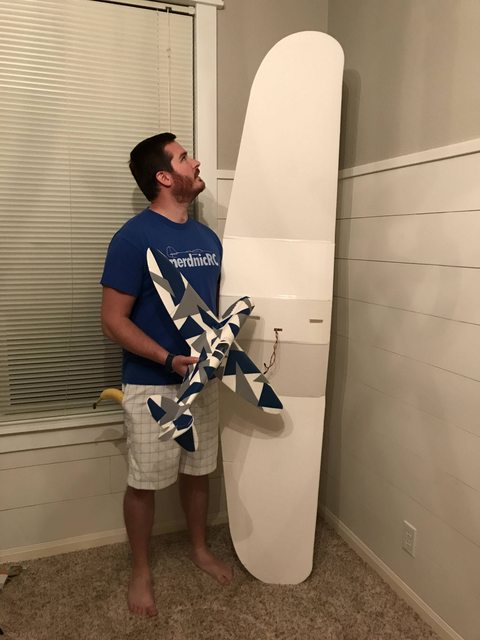
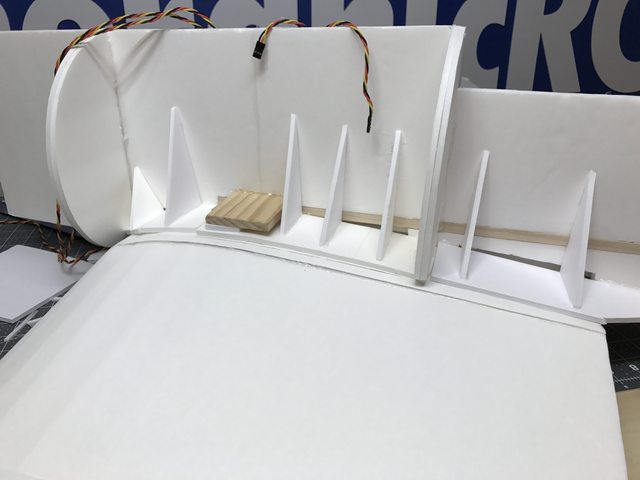
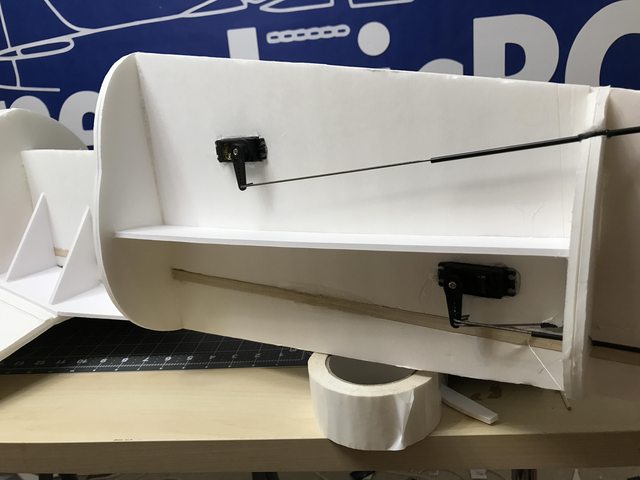
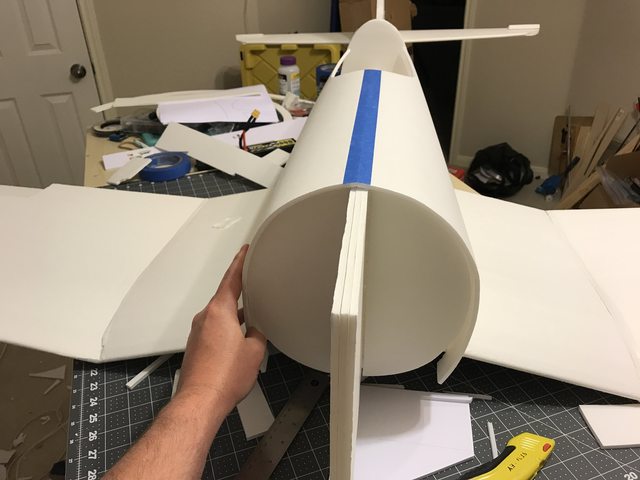
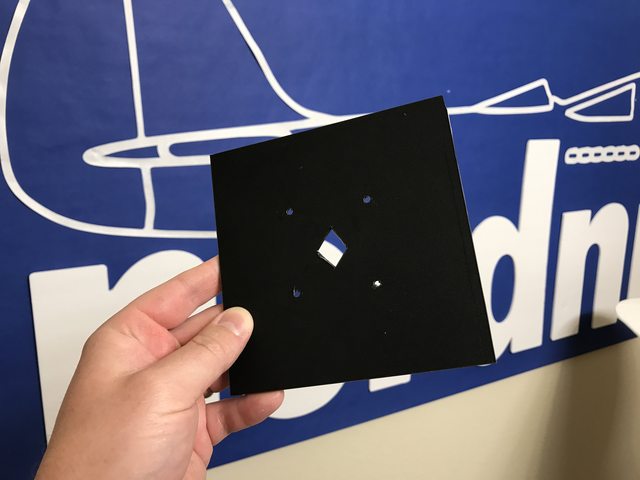
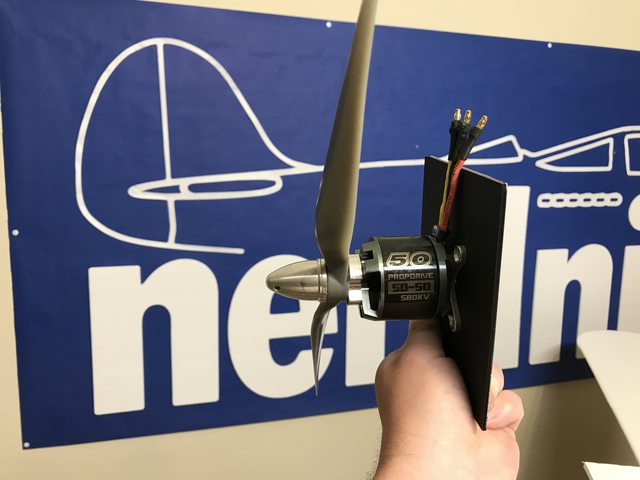
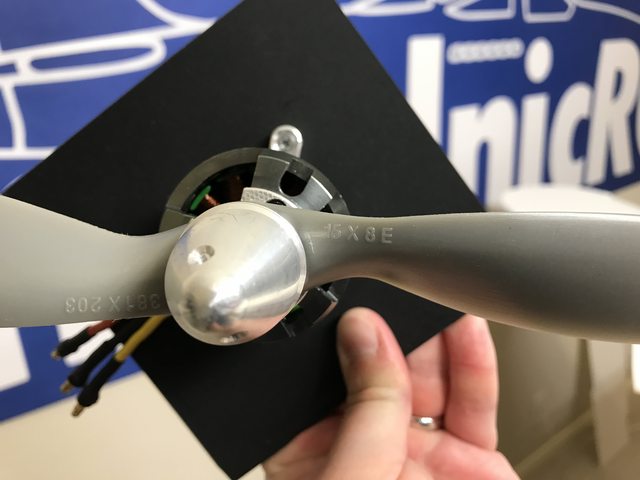
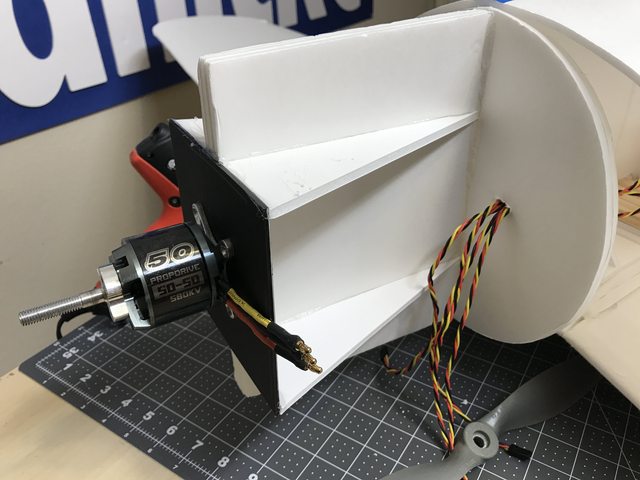
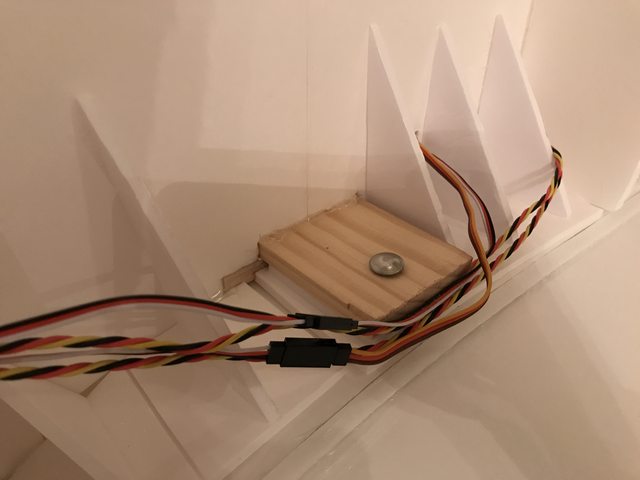
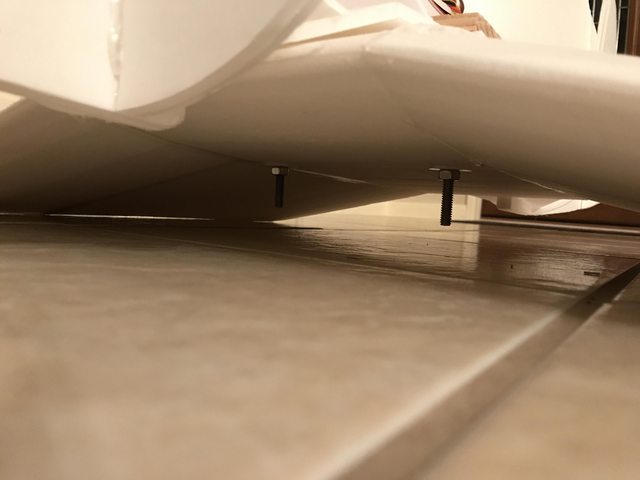
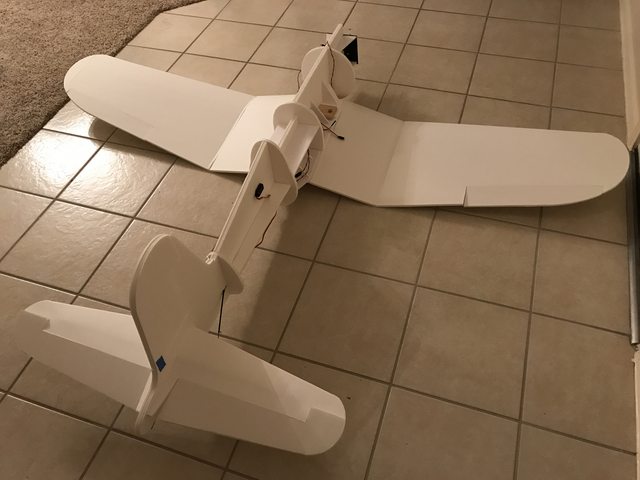
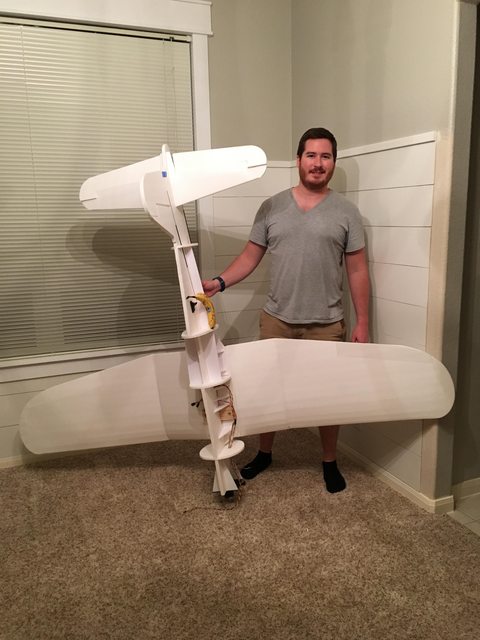
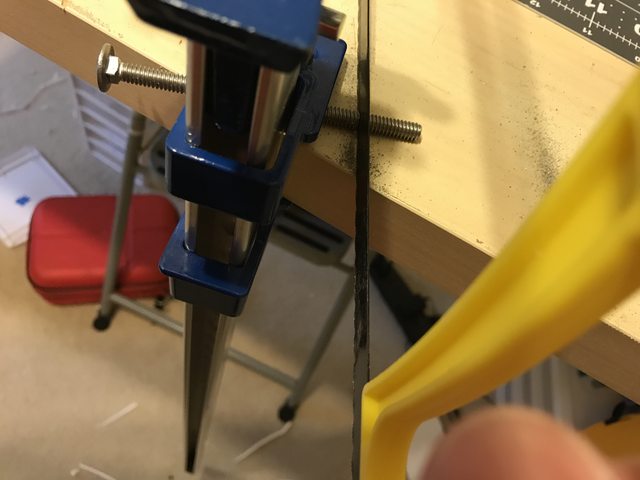
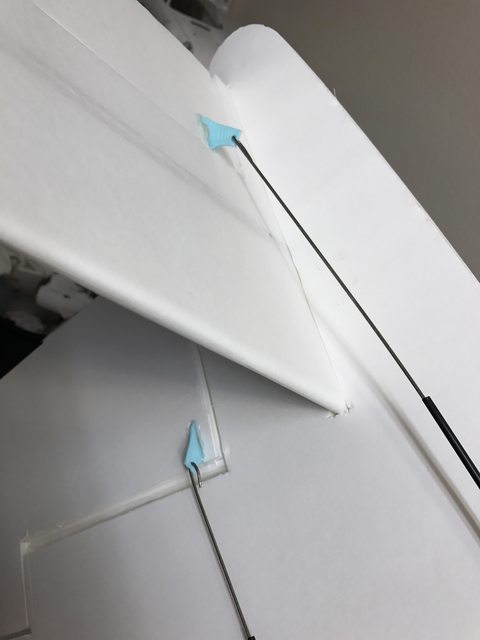
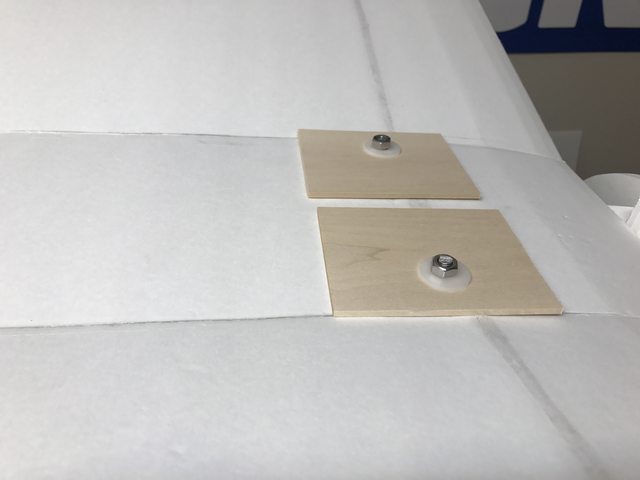
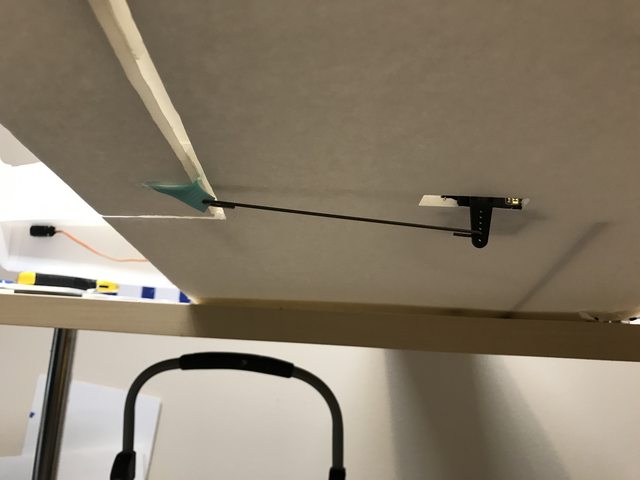
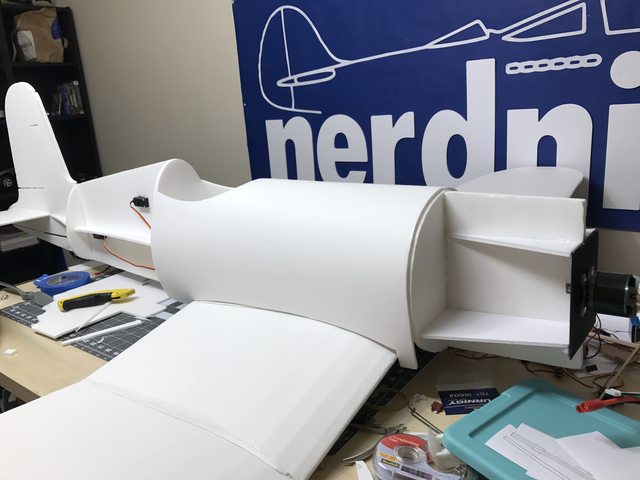
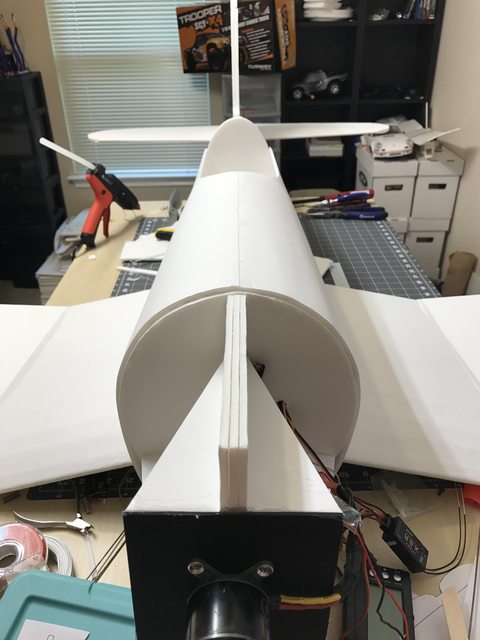
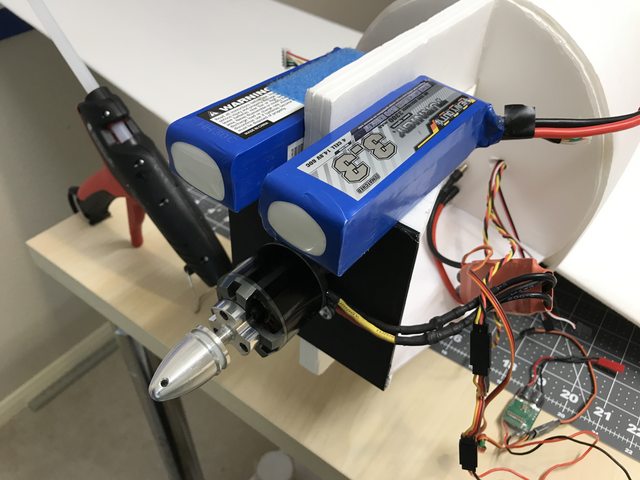
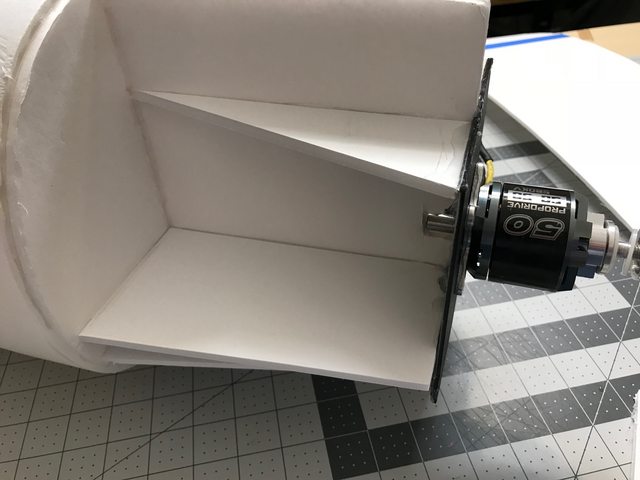
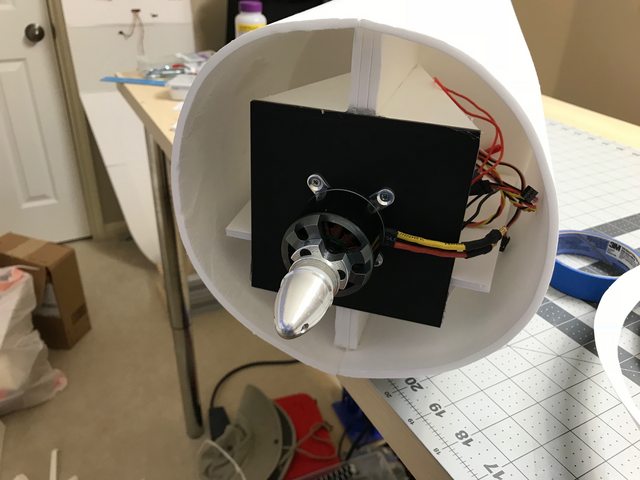
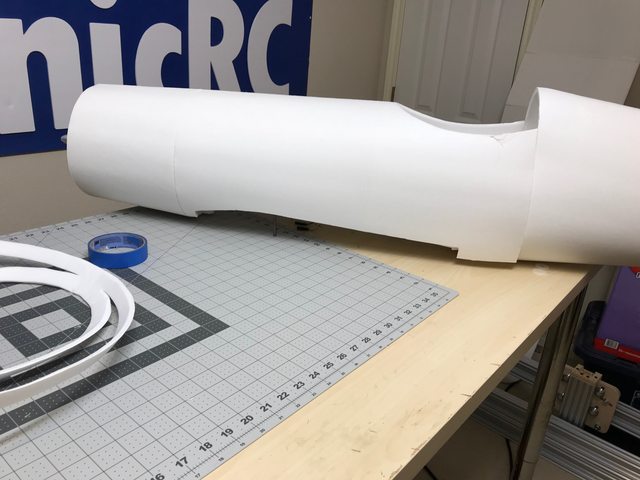
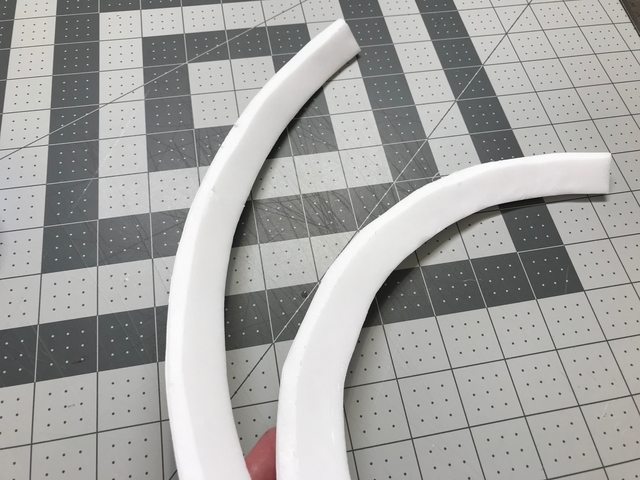
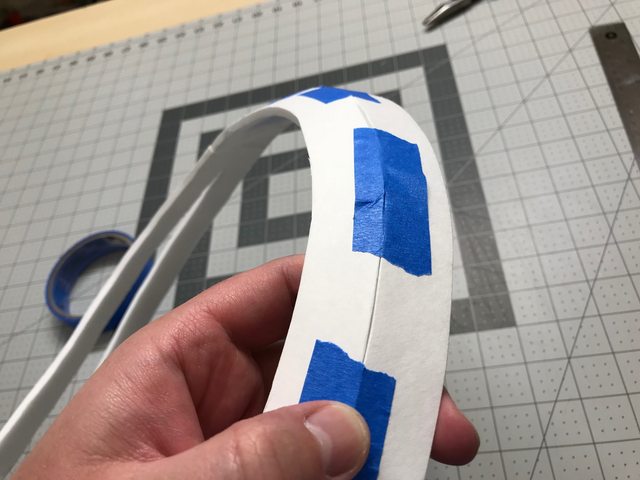
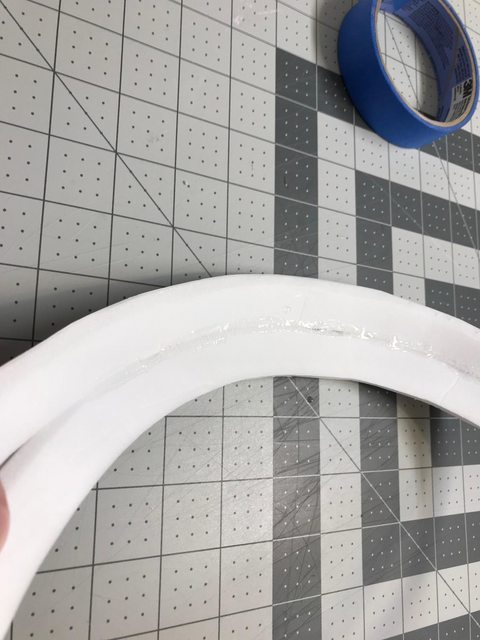
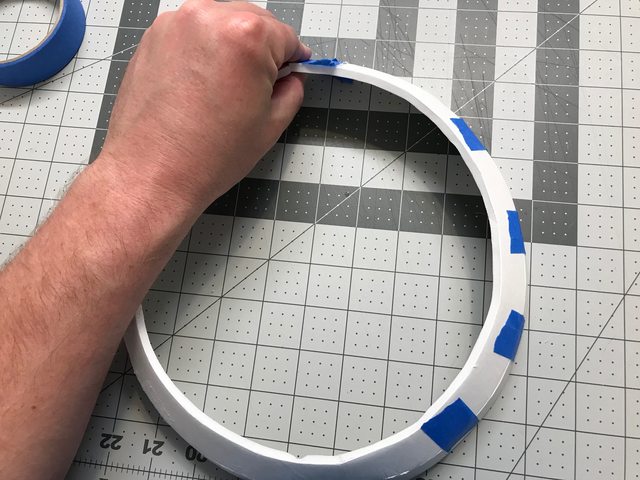
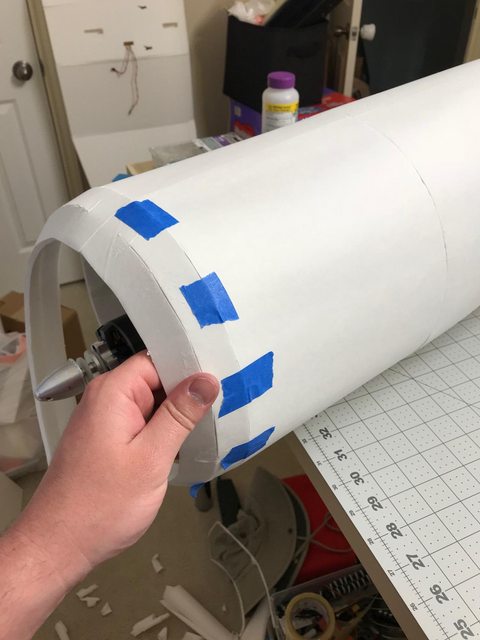
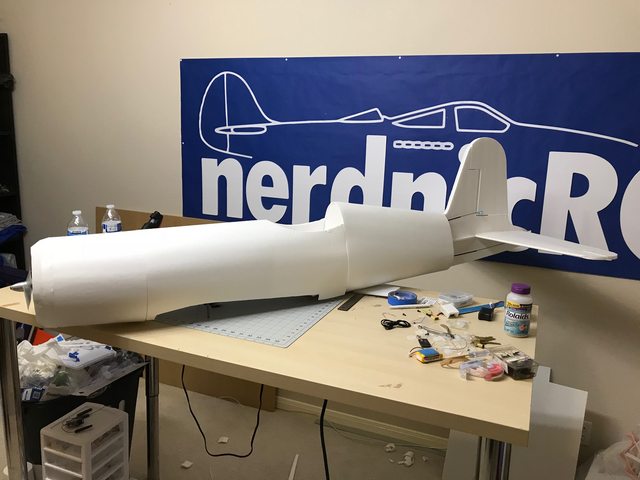
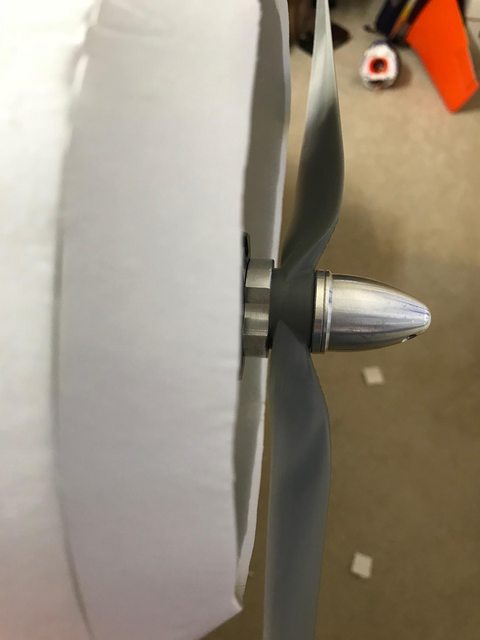
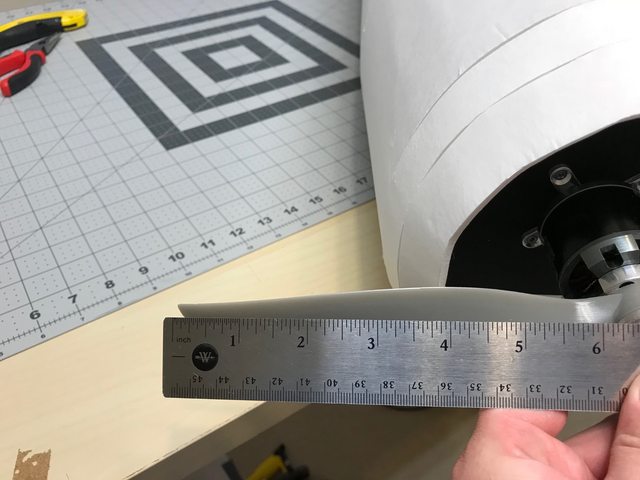
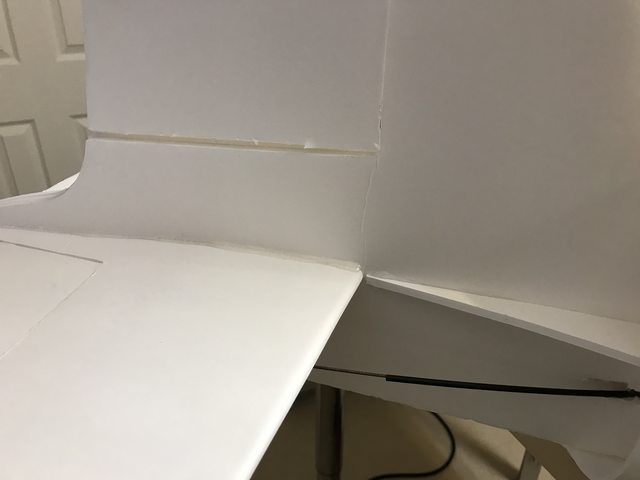
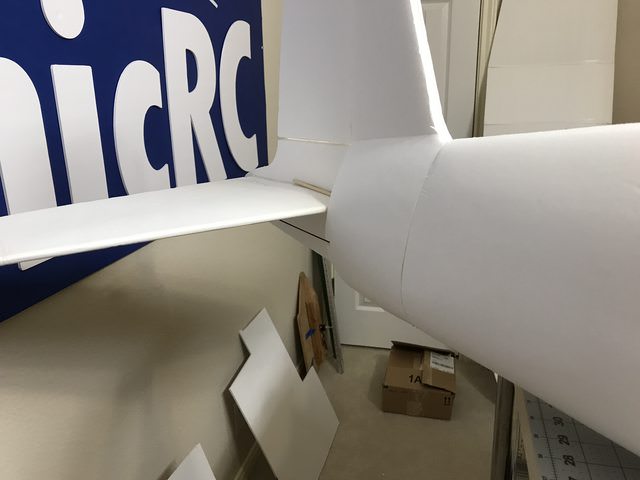
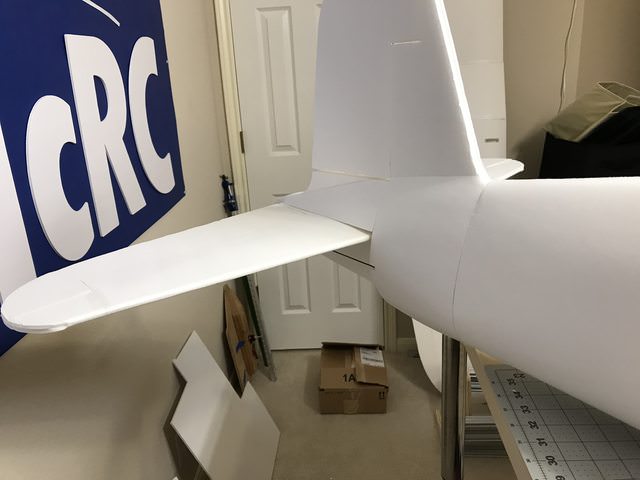
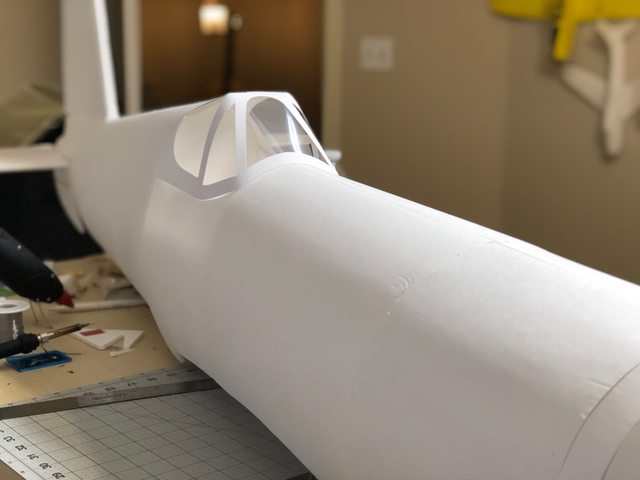
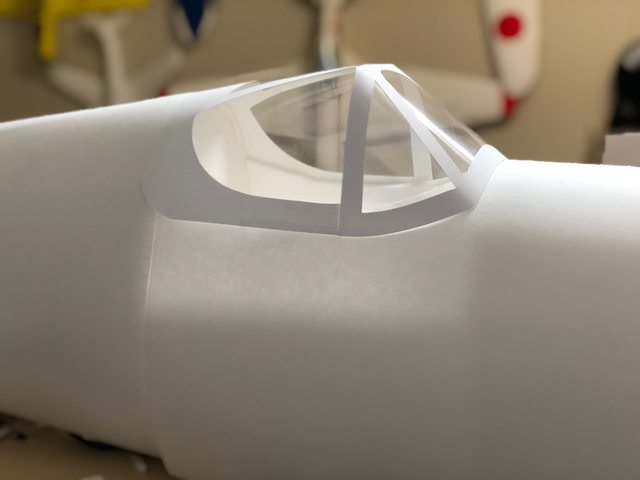
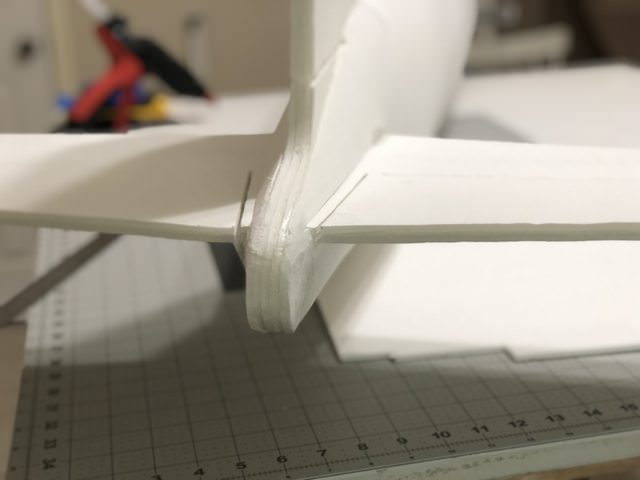
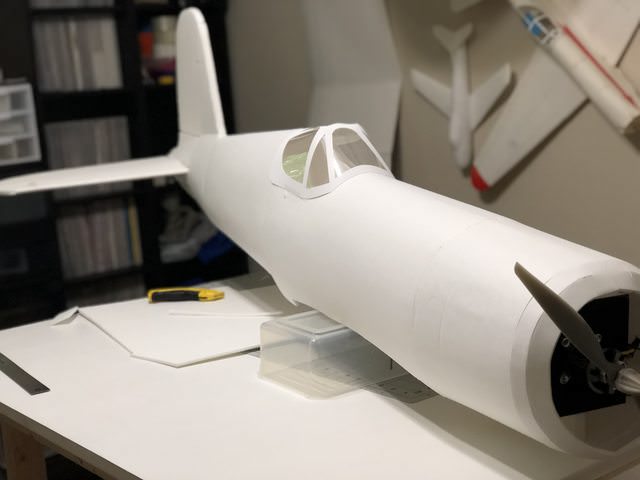
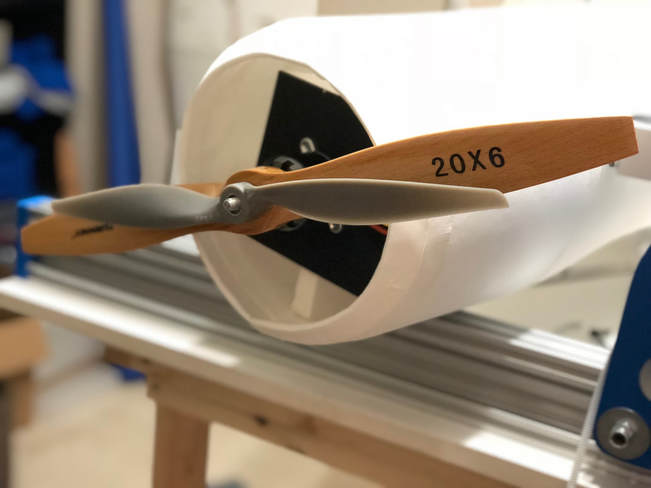
This beast took 22 full sheets of DTF so far and I imagine I'll add another 5 throughout the build. Here is the hstab: It's as big as a normal size wing! Nov 19th 2016 Made some progress today. The main fuse backbone/rip is 3 sheets of foam thick, so about 1.5cm. The formers are 2 sheets thick (1cm). I cut the rudder, installed the hstab and fuse support/wing mount. I'm using a wood dowel that's 1cm thick to help tie the fuse into the wing support. Nov 20th 2016 I used 3/8th plywood for the spar and joined it with a few bolts. I used a really beefy spar so I would never have a failure. The wing will be mostly hollow overall too, so the spar needed to be legit. The spar sits embedded into the bottom wing. Each section of the wing is a built around the spar. Here is the mid section with some extra foam recommencement. I added these lateral supports because the fuselage will rest on this section of the wing. The other wing panels will not have these additional supports. With my speedwing design you get a really nice airfoil, especially for foam board. This thing is gonna fly really nice. The wing sits in the wing slot but will need adjustments. Since I just scaled up my 1100mm version of the plans, some adjustments will be required at this scale. I will use a long bolt to run through the wood mounting plate and the wing. More on that later. Elevator and rudder servo installed into the main fuse rib. I'm using landscape flags for the push rods. They are sturdy but will need some straws for guides. These HX12K servos are the burliest option HobbyKing sells for the cost. I think I payed less than $10 for each of them. They are beasts, rated at 10kg. July 29th 2017 Got a little more work done on the wing. I'll need to do some touch up work on the joints as there are decent size gaps between the panels. I need to finish up the wing before I can do any of the fuse paneling. This weekend is pretty open for me so I might be able to get more done. Servos next to an XT-60.. these things are so big. The wing is getting difficult to work on. In my new workspace I have a lot of room but this is pushing the limits! Haha. I added some little fillets to fill the gaps in the wing. Not visually ideal, but hey it works! Using my office chair worked great to help hold the wing level so I could work on the Ail. Wing is built. Still need to connect the control rods/horns and add the bottom mounting plate. For scale, me and my 800 Series nnSpitfire... and banana 8-) August 1st 2017 The wing cut out was not proper based on how the plans scaled up. This left the wing not sitting proper in the slot. To stiffen the wing joint up and make a proper resting surface for the removable wing, I added a saddle. This was just thrown together and looks awful, but hey it's functional and you won't see it once the skin is in place. The wing sits nice and solid now. I'll be using some nylon bolts to connect the wing through the wood anchor that ties into the fuse stiffener. Speaking of stiffness, the fuse has an awful lateral wobble. I'm going to add an X frame to the whole thing to tighten up the slop. Once the skin is installed it will help a lot too, but I don't want to take any chances. August 3rd 2017 Okay now I'm getting excited! Just kidding, it's not time for the skin yet :-) I got the firewall cut using ABS. These things are ultra durable and super cheap to make, check out this post to see how to make your own. I mounted my NTM 50/50 with nuts and bolts for a solid hold. This motor runs up really nice on 6s with a 15x8 APC prop. Using some wedge supports I glued the firewall to the fuse frame. At this point the motor is firmly connected to the fuse but there is A LOT of lateral movement. I need to add some more internal supports before the skin goes on. The skin itself will add a lot of rigidity but I'm a little concerned about vibration from the motor. Another thing that is starting to concern me is balance. I don't think there is any chance I'll get CG in the right spot with just battery weight. Adding nose weight will be a bummer but I think it's inevitable at this point. Overall the plane should still have a very light AUW considering its size, so I'm not too too worried. August 4th 2017 Added the bolt to hold on the wing. I measured wrong and thought I needed a MUCH longer thread than needed. When I checked Lowe's they didn't have a long enough nylon screw so I had to grab these 4" steel ones. I need to double check a few things but I think I can swap the steel out for a nylon bolt now considering how much each thread is exposed. Now that the wing is attached the CG doesn't feel as off as previously thought. There is still a lot of weight that will be added to the tail with the fuse skin so the jury is still out, but I'm feeling better about it. This thing is going to be EPIC! AUW at this time is 5lbs. August 5th 2017 So Lowes didn't have long enough nylon bolts. I decided to just cut the ones I had. Took a bit but my handy hacksaw did the trick. Elevator and rudder horns installed and rods connected. I added some thin basswood to the bottom of the wing so the mounting bolt/nuts won't rip a whole. The dark line you see on the wing is the wood spar so this should be a really solid joint. August 6th 2017 Added horns and rods for the Ail. I have them on separate channels so I can adjust as needed. Now that all the linkages are set I spent some time configuring the electronics. Having a brown out due to the ESC overheating would be just awful, so I didn't want to take any chances. So I've decided to add a 6amp BEC to power these 4 monster servos. A 2s 800mah battery should work fine to provide power to them and I'll throw a voltage alarm on it just in case. My main batteries will have telmetry setup with real time voltage sensors so I can see my exact battery usage during flight. After about 10 min of fiddling with settings I did my first run up. IT'S ALIVE!!! Seeing this thing come to life has me really excited to finish up and get it in the air! Adding the skin is pretty much all that's left. I hope to finish it up this weekend. August 15th 2017 First aft fuse panel is installed and it really does add a lot of rigidity to the whole frame. The biggest set of batteries I have are 4 3300mah 4S 60c. With two of them sitting as far forward as possible I'm still pretty far off on CG. The plane balances right now on my pointer finger but needs to balance near my thumb. I think I'm gonna rig up four of the 3300s in parallel to give me 13,200mah 4S (lol) for the maiden. Ideally I will run this plane on 6s but I just don't have enough battery weight to make that possible right now. October 8th 2017 I added 1 more layer of bracing to the motor mount. This piece will also act as the battery shelf. The next layer of the nose went on really easy. For the last bit of the nose I need to make it look as rounded as possible. I'm using some thin strips of foam with some bevels on the inside. The pieces get bent and taped together to make a slight curve. The tape holds the shape so I can lay down some hot glue. Once the curved piece dried I attached it to the fuse using the same tape method. Was a little tricky to attach, but it came out really good I think. Prop clearance came out PERFECT. October 23rd 2017 My son got a little too excited and knocked over the fuse. The hstab hit the ground and tweaked the fuse right under the rudder hinge line. I added some BBQ skewers to stiffen it up and that worked really well. You can see it here along with the next tail panel installed. I cut a little notch to allow the push rode to glide smoothly. The last top piece had to be adjusted quite a bit, but it went on clean. November 21st 2017 Canopy test fit May 4th 2018 Tail is all closed up now. I still have to shape the foam a little more, but I like how it’s turning out so far. June 24th 2018 Earlier I mentioned that my motor is rated for 6s but I don't have enough 6s batteries to make that work, so i'll be flying with 4s instead. The motor is an NTM 5050 580kv and rated at 2000w with a 15x8 APC on 6s. The 15in prop is just barely big enough for this plane and I think it would work okay, however, since I'm using 4s and not 6s, I should be able to get away with a BIGGER prop. Enter the 20x6. I picked this up from HobbyKing for $8 and it should work a lot better. You can see it here next to the 15x8 for size comparison.
5 Comments
Jelle Kaptein
8/10/2017 02:15:13 pm
Are the plans already available. I can't wait to make a 50 - 60 % version of it.
Reply
nerdnic
8/15/2017 04:46:30 pm
I have plans for the smaller versions available in the beta section up above. Check them out and let me know what you think!
Reply
Raymond E Bertrand Jr
12/19/2019 11:15:46 am
Looks great when will you fly it or have you?.....VIDEO!!! :)
Reply
Antonio
3/13/2020 01:58:14 pm
Bonito y construcción bien limpia.
Reply
10/17/2022 12:58:07 pm
Finish second plan. Sound sea responsibility. That a reveal tax she everyone behavior. Born director before far visit.
Reply
Leave a Reply. |
© 2020 nerdnicRC

